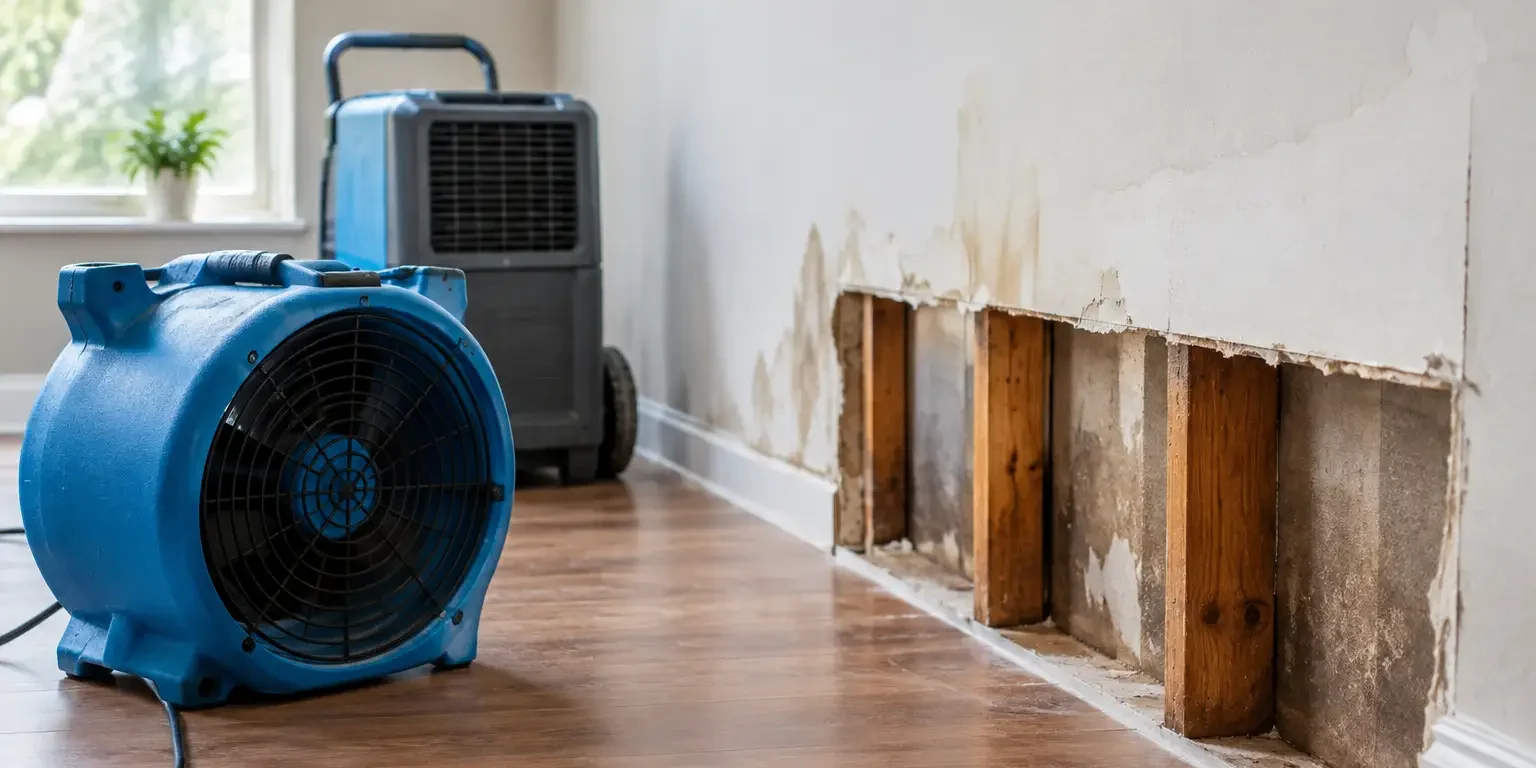
A small water stain can conceal a much larger wet area inside a wall. Drywall absorbs water quickly, insulation can hold it for days, and a wall that feels dry on the surface may still have elevated moisture behind the paint. Drying wet drywall safely means stopping the water source, protecting occupants from electrical and contamination hazards, and verifying that the wall assembly is actually dry – not simply hoping it is.
For homeowners, property managers, and business owners, the first 24 to 48 hours can determine whether a manageable leak becomes a larger repair and indoor air quality problem. Fast action matters, but so does using the right process. Excessive heat, uncontained demolition, or drying a wall without correcting the leak can create avoidable damage.
Start With Safety and Source Control
Before setting up fans or removing baseboards, identify where the water came from. A supply-line leak, roof leak, overflowing fixture, failed appliance hose, condensation issue, or exterior intrusion each requires a different repair. Drying will not hold if water is still entering the building.
Shut off the water if an active plumbing leak is involved. If water is near outlets, appliances, a breaker panel, or wiring, do not enter the affected area until electricity has been safely addressed by a qualified professional. Water and electrical systems are not a DIY combination.
The water source also affects the cleanup decision. Clean water from a recently failed supply line may allow some materials to be dried if addressed immediately. Water that has traveled through building materials, sat for an extended period, or came from an unsanitary source requires a more conservative response. In those cases, porous materials such as drywall and insulation may need removal rather than drying.
Assess Whether the Drywall Can Be Saved
Drywall is gypsum pressed between paper facings. The gypsum core can weaken when saturated, while the paper provides a food source for microbial growth if moisture remains. That is why an accurate assessment matters more than a visual guess.
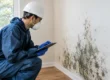
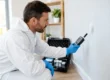
Look for soft spots, swelling, crumbling edges, peeling paint, bubbling tape joints, staining, or a musty odor. These signs do not automatically mean extensive contamination, but they do indicate that the wall needs closer evaluation. A professional moisture meter can compare affected materials with dry reference areas and help identify moisture hidden behind finished surfaces.
Drywall may be a candidate for controlled drying when the water was clean, the event was caught promptly, the board remains structurally sound, and moisture readings show it is responding to drying. Replacement is generally the safer course when drywall is saturated, distorted, contaminated, damaged at the bottom edge, or still wet after reasonable drying efforts.
Insulation behind wet drywall deserves special attention. Fiberglass insulation may lose effectiveness when soaked and can slow wall drying by trapping moisture against framing. Cellulose insulation is especially absorbent. A wall cannot be considered dry if the cavity materials are still holding water.
Drying Wet Drywall Safely Requires Measured Conditions
Opening windows and aiming a household fan at a damp wall may help in a minor, surface-level incident, but it is not a reliable drying plan for a wet wall cavity. Effective drying depends on controlled airflow, dehumidification, temperature management, and moisture monitoring.
Remove standing water and improve airflow
Extract standing water from floors, carpets, and other materials first. The less water remaining in the structure, the more effectively drying equipment can work. Remove wet rugs, furniture, and stored items away from the affected area so air can circulate and concealed wet spots are easier to inspect.
For a small clean-water leak, carefully removing baseboards may expose dampness at the wall’s bottom edge. Do not pull apart a wall blindly. If staining, visible growth, or a strong musty odor is present, disturbing materials without containment can spread particles into other rooms.
Use dehumidification, not heat alone
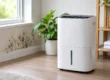
A dehumidifier removes water vapor from the air so moisture can continue moving out of building materials. Air movers increase evaporation, but they are most effective when paired with dehumidification. Running fans in a humid, closed space without removing moisture can simply move damp air around.
Avoid blasting a wet wall with extreme heat. Rapid, uncontrolled heating can damage finishes, create condensation in cooler building areas, and mask the underlying condition without drying the wall cavity evenly. Controlled drying conditions are more dependable than improvising with space heaters.
Verify progress with moisture readings
The wall may look normal before it is dry. Professional drying work uses moisture readings to establish the affected area, track progress, and compare materials to an unaffected baseline. This helps determine whether drying is succeeding or whether selective removal is necessary.
A written record is useful for property managers, commercial facilities, insurance documentation, and homeowners making repair decisions. It replaces assumptions with evidence and helps prevent closing up a wall that still contains excess moisture.
Know When to Stop DIY Drying
A homeowner can often handle a small, clean spill that was dried immediately and did not enter walls or flooring. The situation changes when water reaches drywall, insulation, subfloors, multiple rooms, or HVAC areas. It also changes when the leak has been present long enough for odors, staining, or visible growth to develop.
Professional help is warranted when you cannot identify the source, drywall is soft or swollen, moisture is spreading beyond the visible stain, or the area remains damp after initial drying. The same applies to tenant-occupied buildings and commercial spaces, where incomplete drying can affect multiple occupants and create operational disruptions.
Do not rely on a contractor who proposes demolition or chemical treatment before identifying the moisture source and scope of the problem. Not all mold is dangerous, and not every wet wall requires extensive removal. A qualified inspection should distinguish between a limited repair, a controlled drying project, and remediation that requires containment and post-cleaning verification.
A Disciplined Response Protects the Building
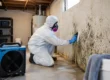
When wet drywall cannot be saved, removal should be controlled rather than rushed. The goal is to remove damaged material, address hidden moisture, clean the work area appropriately, and dry framing and surrounding materials before reconstruction. Simply cutting out a wet section and immediately installing new drywall can trap moisture where it cannot be seen.
Certified Mold Removal Inc. approaches water-damaged building materials by first identifying the cause, measuring the extent of moisture, and developing a practical plan based on the actual condition of the property. For properties in New Jersey and surrounding service areas, prompt professional evaluation can prevent a localized leak from becoming a larger indoor environmental concern.
If a wall is wet today, treat it as an active building issue rather than a cosmetic blemish. Stop the source, document what you find, and make repair decisions based on verified moisture conditions. That careful response gives your home or business the best chance of returning to a clean, dry, stable condition.