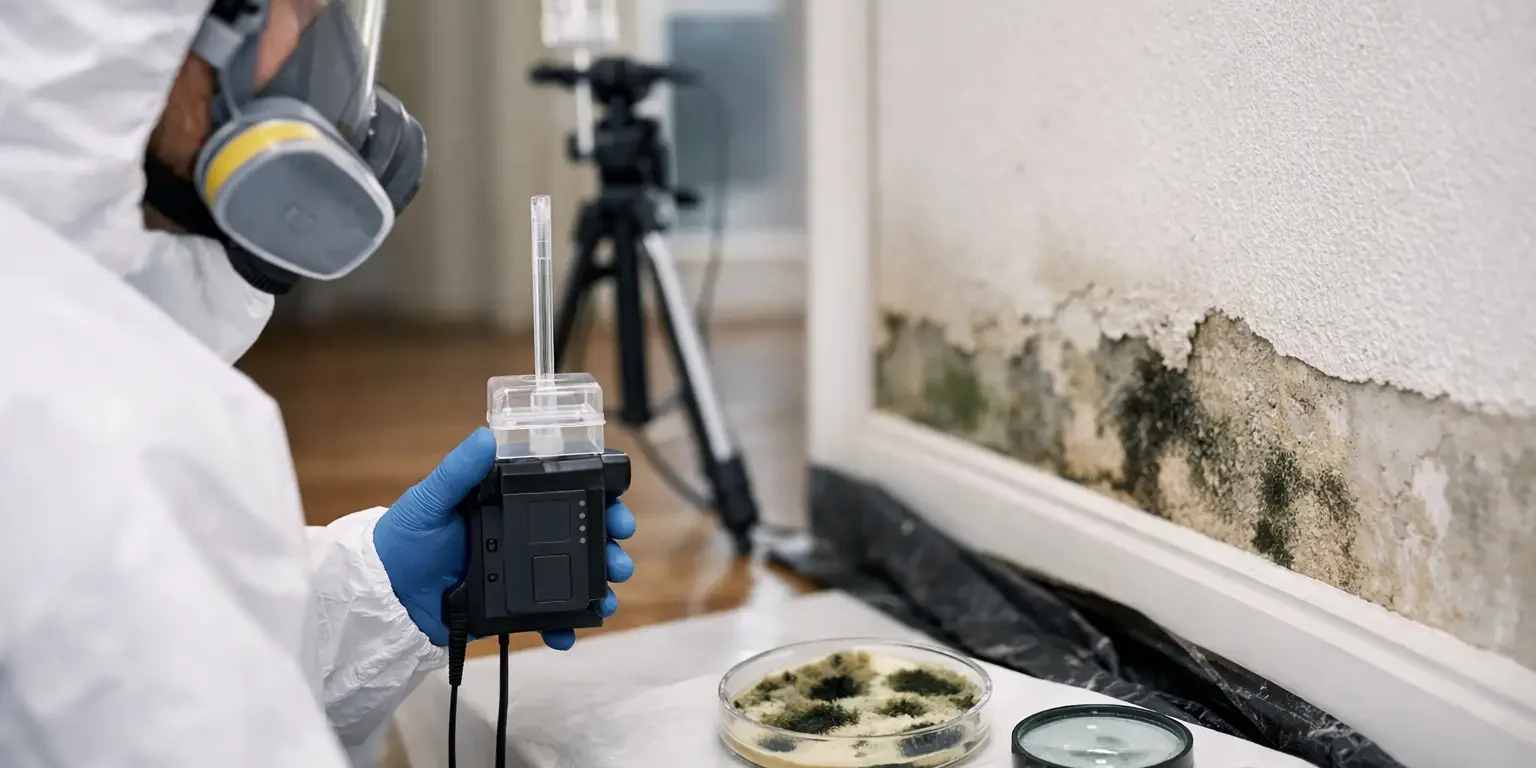
A clearance failure is rarely caused by one missed wipe. More often, it means the moisture source was not fully corrected, containment was removed too soon, or dust and debris were left behind after remediation. If you are asking how to pass mold clearance testing, the right goal is not to chase a favorable lab result. It is to restore the affected area to a clean, dry condition that is appropriate for normal occupancy.
Clearance testing is the final quality-control step after mold remediation. It helps confirm that the work area has been properly cleaned and that conditions supporting mold growth have been addressed. A qualified inspector should evaluate the work with a combination of visual observations, moisture measurements, and, when appropriate, air or surface sampling.
What Mold Clearance Testing Actually Measures
Mold clearance is not a universal pass-or-fail number that applies to every building. Indoor and outdoor environments naturally contain mold spores, and different properties have different background conditions. A professional clearance assessment considers the whole picture rather than relying on one air sample alone.
A proper assessment commonly looks for visible dust, debris, staining, or remaining growth; checks whether building materials are dry; verifies that containment and cleanup were completed correctly; and compares air conditions inside the work area with suitable control or outdoor samples when sampling is part of the protocol.
The key point is simple: clearance testing should confirm that remediation was completed, not replace remediation. Air testing cannot make an unclean room clean. If visible residue remains, moisture is elevated, or damaged materials are still supporting growth, a sample result alone should not be treated as proof that the space is ready to reopen.
How to Pass Mold Clearance Testing: Fix the Source First
The most dependable way to pass clearance is to eliminate the condition that allowed mold to grow. That may be an active plumbing leak, roof intrusion, failed window flashing, a wet basement, poor drainage, high indoor humidity, or an HVAC issue. If water continues entering the structure, mold can return quickly, even after an otherwise careful cleanup.
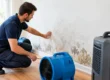
Before final testing is scheduled, confirm that repairs are complete and that affected materials have had adequate drying time. Moisture meters, humidity readings, and thermal imaging can help identify damp areas that look normal on the surface. A wall, subfloor, or ceiling cavity can remain wet long after a room appears dry.
This is where shortcuts become expensive. Covering stained drywall, applying odor products, or running a fogging treatment does not correct moisture or remove contamination. These approaches may temporarily change the appearance or smell of a space, but they do not provide a reliable basis for clearance.
Follow the Remediation Protocol, Not a Guess
A written remediation protocol gives the project a defined scope: what materials need removal, what can be cleaned, how the area should be contained, and what conditions must be met before clearance. For larger or more complex jobs, this planning is essential.
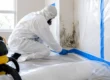
Containment protects unaffected portions of the property while work is underway. Depending on the size and location of the affected area, it may include critical barriers, controlled entry, negative air pressure, and HEPA-filtered air equipment. The purpose is to keep dust and spores generated during removal from migrating into bedrooms, offices, hallways, or HVAC pathways.
Do not remove containment just because demolition is finished. The cleaning phase is often what determines whether a project passes or fails. Once contaminated materials are removed, remaining structural surfaces, contents, and horizontal ledges must be cleaned in a controlled sequence. If dust settles after equipment is shut down or barriers come down, it can trigger a failed visual inspection or elevated sample result.
Clean for Clearance, Not for Appearance
A room can look clean and still contain fine particulate residue. Clearance inspectors pay particular attention to ledges, framing, window tracks, floors, baseboards, equipment surfaces, and the tops of pipes or ducts within the work zone. These are common places for dust to settle.
Professional cleaning typically combines HEPA vacuuming with damp wiping of appropriate nonporous and semi-porous surfaces. The exact method depends on the material and the contamination level. Porous materials that cannot be adequately cleaned may need to be removed rather than treated in place.
Avoid using bleach as a universal solution. It is not appropriate for every surface, it does not resolve moisture problems, and it can create unnecessary fumes or damage materials. Strong fragrances and masking agents are also a poor substitute for cleaning. A property should not need odor cover-up products to seem acceptable after remediation.
Before clearance, the work area should be free of visible debris, settled dust, disposable materials, and cleaning supplies. Contractors should also confirm that HEPA filters and collection bags have been handled correctly and that the area has had time to stabilize after final cleaning. Testing immediately after aggressive air movement can produce results that do not represent normal post-remediation conditions.
Use an Independent Clearance Inspector When Possible
For substantial remediation projects, independent post-remediation verification offers valuable protection for property owners, managers, and occupants. The party conducting the clearance assessment should be able to evaluate the finished work objectively against the written protocol and site conditions.
Independence matters because it separates the verification step from the remediation work itself. This can reduce conflicts over whether additional cleaning is needed and creates clearer documentation for real estate transactions, tenant concerns, insurance discussions, or commercial property records.
There are situations where limited work may not require extensive sampling. A small, isolated issue that was corrected and cleaned properly may be evaluated primarily through visual inspection and moisture confirmation. Larger losses, multi-room contamination, HVAC involvement, repeated water intrusion, or health-sensitive occupants generally justify a more detailed clearance approach.
Prevent the Common Reasons Clearance Fails
Most failed clearance tests can be corrected, but they delay reoccupancy and increase costs. The recurring causes are practical rather than mysterious:
- The leak, humidity issue, or water intrusion was never fully corrected.
- Dust and debris remain on framing, floors, ledges, or protected contents.
- Containment was removed before detailed cleaning was complete.
- Wet building materials were not dried, removed, or verified with moisture readings.
- The work area was tested too soon after cleaning or demolition activity.
- Sampling was used as the only measure of success despite visible concerns.
If a clearance result does not meet expectations, do not panic and do not assume the entire project must start over. Review the inspector’s observations and laboratory data together. The solution may be targeted recleaning, additional drying, removal of overlooked material, or correcting a source that remained active. A credible remediation professional should explain the cause and the corrective step clearly, without fear-based claims.
Prepare the Property Before the Inspector Arrives
On the day of clearance, keep the remediated area protected and undisturbed. Do not move furniture through the work zone, begin reconstruction, run unrelated demolition, or open barriers prematurely. If reconstruction materials are already stored in the room, they can complicate the visual inspection and collect dust.
Have the remediation protocol, moisture documentation, repair records, and a clear description of the work completed available for the inspector. This helps verify that the scope was followed and allows the inspector to focus on any areas that require special attention.
For homeowners and property managers in New Jersey, New York, Pennsylvania, and Connecticut, speed matters after water damage, but speed should never mean skipping verification. Certified Mold Removal Inc. approaches remediation by identifying the source, controlling the affected area, cleaning to a documented standard, and preparing the property for proper post-remediation review.
A successful clearance is not a trick, a product, or a number you can force. It is the result of disciplined source correction, careful containment, complete cleaning, and an honest final assessment. Get those steps right, and the building is in a far stronger position to return to normal use with confidence.