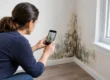
A water damage mold remediation example is most useful when it shows what actually happens after a building leak, not just what mold looks like on a wall. Consider a homeowner who notices a musty odor in an upstairs bedroom several days after a slow plumbing leak beneath a bathroom vanity. The visible staining is small. The damage behind the wall and under the flooring may not be.
The right response is not panic and it is not painting over the stain. Not all mold is dangerous, and visible growth alone does not tell you the full extent of a problem. A professional process identifies the water source, determines what materials were affected, controls contamination, and verifies that the property is ready for normal use.
Water Damage Mold Remediation Example: A Bathroom Leak
In this example, a supply line fitting under the vanity loosened and allowed water to drip into the wall cavity over several weeks. The homeowner cleaned a small dark area near the baseboard but the odor persisted. A moisture meter later showed elevated readings in the lower drywall, baseboard, subfloor, and the ceiling below.
This is a common situation in homes and multifamily properties throughout New Jersey. The original leak may be minor, but hidden materials stay damp when air movement is limited. Drywall paper, insulation, wood framing, carpet backing, and dust can provide conditions for mold growth if moisture is not corrected promptly.
The first professional question is simple: Is the water source active? In this case, the plumber repaired the fitting before remediation began. That sequence matters. Removing mold while a leak continues only creates a repeat problem and unnecessary expense.
Step 1: Inspection and moisture mapping
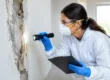
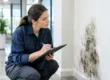
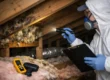
A qualified mold inspection does more than confirm a stain. The inspector documents the affected areas, uses moisture-detection equipment to map wet materials, checks adjacent rooms and the space below, and looks for pathways that could allow contaminated air to travel.
In this case, the inspection found that the wet area extended farther than the homeowner expected. The bathroom drywall had absorbed moisture approximately two feet above the floor. Insulation in the wall cavity was damp, and the ceiling drywall in the first-floor room below showed early water damage.
Testing may be appropriate when the source, extent, or type of contamination is unclear, or when occupants report recurring odor or indoor air quality concerns. It is not automatically required for every small, clearly defined water event. The goal is useful information, not unnecessary testing or fear-based recommendations.
Step 2: A written remediation plan
With the source repaired and the scope identified, the remediation team prepares a work plan. For a contained bathroom leak, that plan may call for protecting unaffected rooms, establishing a contained work area, removing unsalvageable porous materials, cleaning structural components, drying the assembly, and performing post-remediation evaluation.
The plan should explain what will be removed, what can be cleaned, how dust and debris will be controlled, and how the area will be dried. Homeowners and property managers should be cautious when a contractor proposes broad demolition without documenting moisture conditions or explaining why the material cannot be restored.
In this example, the baseboard, wet insulation, and lower section of drywall were removed because they could not be reliably cleaned and dried in place. The framing remained structurally sound and was retained for detailed cleaning and drying. That distinction can protect both the building and the budget.
Containment protects the rest of the property
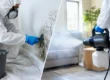
Before material removal starts, the crew isolates the work area with professional containment barriers. Depending on the size and location of the project, negative air equipment with appropriate filtration may be used to help keep airborne particles from moving into clean areas.
The bathroom doorway is sealed, the floor path is protected, and workers use appropriate personal protective equipment. Removed material is carefully bagged before leaving the containment area. These controls are not cosmetic. Cutting wet drywall or disturbing mold-affected material without containment can spread dust and spores into bedrooms, hallways, HVAC pathways, and occupied workspaces.
A shortcut often seen after water damage is using a household fan to dry a visibly affected room. Fans can be helpful only when the area is clean, the source has stopped, and drying is being managed correctly. Blowing air across suspected mold growth or hidden contamination can distribute particles rather than solve the problem.
Step 3: Controlled removal and detailed cleaning
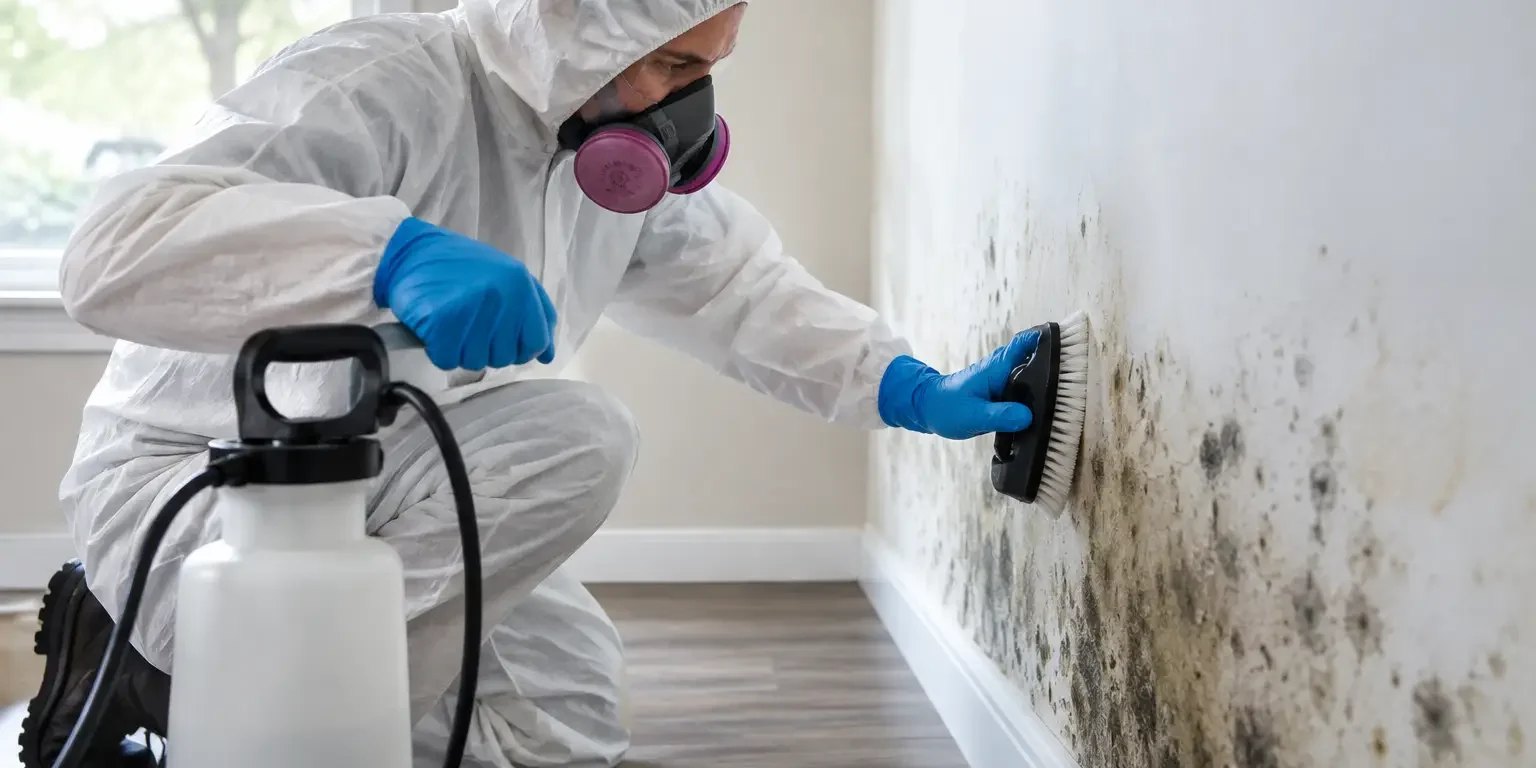
Inside containment, technicians remove the identified damaged drywall and insulation using controlled methods. The exposed wood framing is then HEPA-vacuumed and cleaned using products and procedures appropriate for the material and the project scope. Remaining debris is removed before drying equipment is placed.
The word remediation is often misunderstood. It does not mean applying a chemical to every surface. It means returning the affected area to a normal, clean condition after correcting the moisture issue. In many cases, physical removal of damaged porous material and careful cleaning of retained structural materials are more meaningful than simply spraying a product.
For this bathroom project, the crew also checked the subfloor for moisture and deterioration. The subfloor was damp but stable, so it was cleaned and dried rather than removed. If it had been warped, delaminated, or structurally compromised, replacement would have been the safer choice. This is why remediation cannot be priced responsibly from a single photo.
Step 4: Drying to documented goals
Drying is not finished when a surface feels dry to the touch. Moisture readings should be compared to unaffected materials in the same property or to appropriate dry standards for the building assembly. The team monitors equipment, temperature, humidity, and material moisture until the affected components have reached acceptable conditions.
In the example, air movers and dehumidification equipment were used after cleaning. Moisture readings in the framing and subfloor steadily declined over several days. The team adjusted equipment as needed and documented the final readings before containment was removed.
The timeline varies. A limited, quickly addressed leak may be resolved in a few days. A long-term leak behind cabinets, a sewage backup, extensive flooding, or water damage affecting multiple floors can require a much more involved project. The correct scope depends on the category of water, the materials affected, how long they stayed wet, and whether contamination has spread beyond the initial area.
What happens after remediation?
Once cleaning and drying are complete, the work area is visually evaluated and checked for remaining moisture. When the project warrants it, independent post-remediation verification may be used before reconstruction. This adds separation between the company performing the work and the party evaluating the completed conditions.
Only after the affected space is clean and dry should reconstruction begin. In this case, the homeowner replaced drywall, insulation, baseboard, and flooring trim after remediation was completed. Rebuilding too early can cover unresolved moisture and make a future problem harder to diagnose.
For commercial properties, the same principle applies, but planning must also account for tenant access, employee safety, operating hours, and business continuity. A contained, well-documented approach can often limit disruption without compromising the quality of the work.
When a small water problem needs immediate attention
Call a qualified remediation professional promptly if you have a persistent musty odor after a leak, visible growth that returns after cleaning, wet drywall or flooring, water staining that expands, or occupants experiencing unexplained irritation that seems tied to a specific area. The sooner moisture is found and corrected, the more options you usually have for preserving materials.
Certified Mold Removal Inc. approaches water and mold concerns by diagnosing the source first, defining the actual scope, and completing remediation with appropriate containment and drying procedures. For property owners, that means clear answers instead of guesswork and a plan designed to protect the building as well as the people inside it.
If water has entered a wall, ceiling, floor, or concealed building cavity, treat the first 24 to 48 hours as a decision window. A careful inspection now can prevent a small repair from becoming a larger indoor air quality and restoration project later.