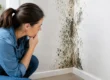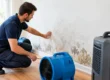
A small patch behind a bathroom vanity can become a much larger dispute if the leak, moisture pattern, and early visible growth are never recorded. Knowing how to document mold damage gives you a clear record of what you found, where it is, and what conditions may have caused it. That record helps a qualified inspector diagnose the problem correctly, supports communication with your insurer or property manager, and prevents important evidence from being lost during cleanup.
Do not wait for mold to cover an entire wall before taking action. Visible growth, staining, a persistent musty odor, bubbling paint, warped materials, or repeated condensation all deserve prompt attention. Mold is not automatically dangerous, but ongoing moisture and improper cleanup can turn a manageable issue into a more costly indoor air quality and property damage problem.
How to Document Mold Damage Safely
Start by protecting yourself and avoiding actions that spread contamination. Do not scrape, sand, vacuum with a standard household vacuum, or spray chemicals on a large or suspect area just to make it look better for photographs. Disturbing mold growth can release particles into the air and can destroy clues a professional needs to identify the moisture source.
If there is an active leak or flooding, stop the water source if you can do so safely. Photograph the conditions first when possible, then take reasonable steps to limit further damage. A plumbing emergency, roof leak, appliance overflow, or storm intrusion should be addressed quickly. Documentation is valuable, but preventing continuing water damage comes first.
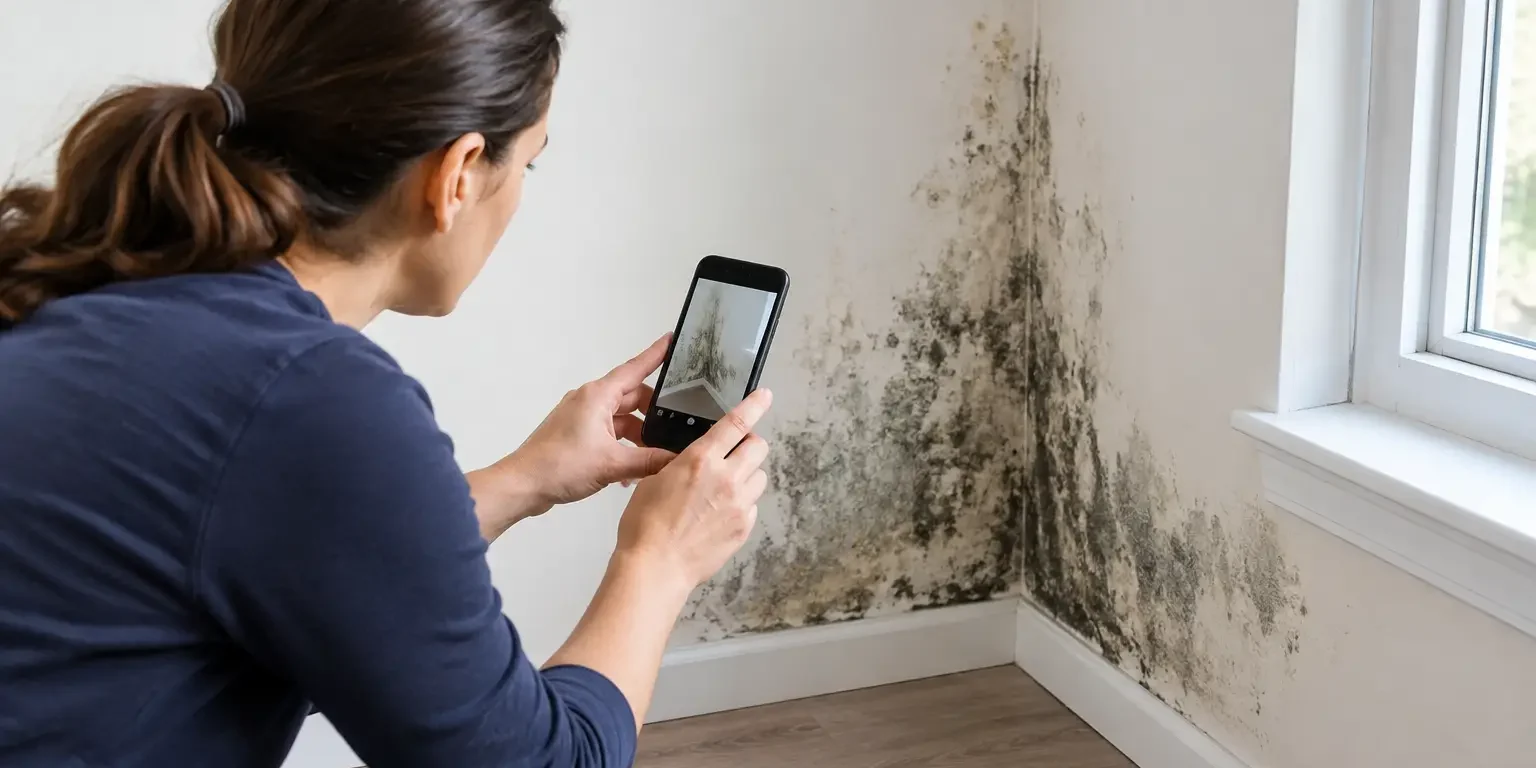
Take photographs before moving furniture, removing damaged materials, or beginning any cleanup. Use your phone’s original camera setting and keep the unedited files. Most phones automatically retain the date and time, but it is wise to create a written record as well. Photos alone rarely tell the whole story.
Photograph the area from three distances
Begin with wide shots that show the room and establish location. Include recognizable features such as a doorway, window, vanity, utility appliance, or ceiling fixture. Then take medium-distance photos showing the affected wall, floor, ceiling, cabinet, or contents. Finish with close-ups that capture discoloration, visible growth, peeling paint, water rings, damaged drywall, or warped wood.
Place a ruler or measuring tape next to visible damage when it can be done without touching the affected surface. This gives scale to the image and makes it easier to track whether the area changes over time. Photograph adjacent surfaces too. Mold and water damage often extend beyond the most obvious spot, particularly behind baseboards, beneath flooring, inside wall cavities, or around plumbing penetrations.
If the damage is in a dark area, use adequate lighting but avoid filters, portrait mode, or color adjustments. Accurate color and texture are more useful than a dramatic image. Take more photos than you think you need, then organize them by room and date.
Keep a location-by-location damage log
Create a simple written log on the same day. Identify the property address, date, time, room, and exact location of every affected area. “Mold in basement” is too broad. “Dark spotting and water staining on the lower north wall of the finished basement, behind the storage shelving” is far more useful.
For each location, record what you see and smell, along with what has changed. Note the approximate dimensions of staining or visible growth, whether materials are wet or dry to the touch, and whether surfaces feel soft, swollen, or deteriorated. Describe facts without guessing at the cause. You can write that staining appeared below a second-floor bathroom, for example, without stating that a pipe leak caused it before the area is inspected.
Your log should also include relevant events. Record when you first noticed the issue, recent plumbing repairs, roof work, appliance failures, flooding, heavy rain, humidity problems, or recurring condensation. If tenants, employees, or family members reported an odor or leak earlier, note who reported it and when. This timeline can reveal a pattern that a single photograph cannot.
Record the Moisture Source, Not Just the Mold
The most useful mold documentation shows the conditions that allowed growth to occur. Mold remediation without moisture correction is not a lasting solution. If a bathroom exhaust fan is not operating, a dehumidifier is full, a window is repeatedly collecting condensation, or water is entering after rainfall, photograph and record those conditions.
Take pictures of obvious source areas, including leaking supply lines, drain connections, appliance hoses, roof stains, window frames, damaged caulk, or wet foundation walls. If you have a hygrometer, record indoor humidity and the room temperature. If you own a moisture meter and know how to use it, document readings from affected and nearby unaffected materials for comparison.
Consumer moisture readings can be helpful indicators, but they are not a diagnosis. Different material settings, surface conditions, and meter types can produce different results. Do not use a single reading to declare a wall dry or to decide that hidden moisture is absent. A trained mold professional may use specialized moisture detection methods and inspection procedures to determine the actual extent of the issue.
Use video to capture context
A short, steady video can supplement your photos. Walk through the room slowly and state the date, room name, and what you are showing. Capture the relationship between the damaged area and a suspected water source, such as a stained ceiling below a bathroom or moisture near an exterior wall.
Keep the video factual. Avoid narrating assumptions or trying to demonstrate a repair. The goal is to preserve conditions as they existed when discovered, not to build a case around a cause that has not yet been confirmed.
Preserve Records of Repairs and Communication
Save invoices, work orders, receipts, estimates, maintenance requests, and written communications connected to the water event or suspected mold damage. This may include plumber visits, roof repair records, appliance service, dehumidifier purchases, and messages sent to a landlord, tenant, property manager, or insurer.
For rental and commercial properties, document when the issue was reported and when access was provided for inspection or repair. Property managers should maintain a dated record for each unit or work area rather than combining unrelated complaints into one general file. Clear documentation protects occupants and helps prevent recurring moisture conditions from being dismissed as isolated incidents.
Back up original images and records in at least two places, such as a secure cloud folder and a local device. Use straightforward file names: “2026-09-17_Basement-North-Wall_Wide-Photo” is easier to locate than “IMG_4821.” Do not overwrite original files after editing them for email or printing.
When Documentation Needs Professional Support
Professional assessment is especially appropriate when damage keeps returning, covers a substantial area, follows a major water event, involves concealed spaces, or affects a business, rental property, or multi-unit building. It is also the right next step when occupants notice ongoing musty odors but the source is not visible.
A qualified inspection should focus on diagnosis before removal. The process may include a visual assessment, moisture investigation, targeted sampling when appropriate, and a written scope or remediation protocol. Not every situation requires the same type of testing or removal method. The correct approach depends on the materials involved, the size and location of the affected area, whether moisture is still active, and the potential for contamination to spread during work.
Avoid hiring a contractor who promises to remove mold without first identifying why it developed. Painting over stains, applying a strong chemical, or removing visible material without containment can conceal the problem while leaving moisture and contamination behind. Certified Mold Removal Inc. approaches mold concerns by locating the source, documenting conditions, and developing a safe remediation plan based on the actual building conditions.
If you need to clean a very small, isolated surface area, photograph it first and correct the moisture issue immediately. For larger, recurring, or hidden damage, preserve the scene and arrange a qualified inspection before demolition. The best documentation does more than show that mold was present – it gives the right professional a reliable starting point to protect the building and the people inside it.