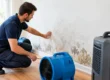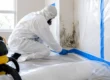
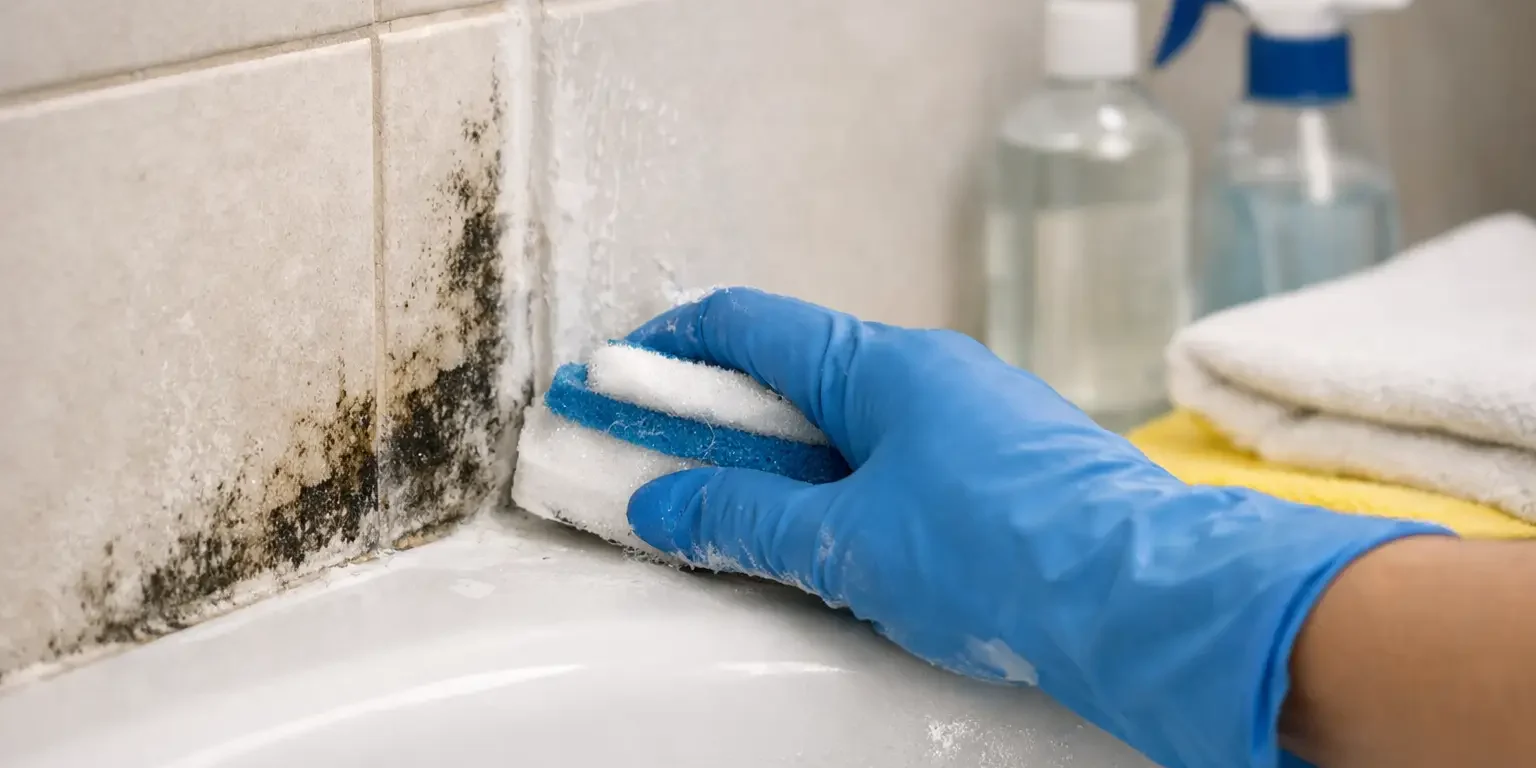
A dark spot spreading along shower caulk or a musty smell that returns after every cleaning is not a cosmetic issue to ignore. Effective bathroom mold removal steps begin with finding and stopping the moisture feeding the growth. Cleaning the visible surface without correcting the leak, humidity, or ventilation problem often means the mold returns – sometimes behind drywall, beneath flooring, or inside a vanity where it is harder to see.
Not all mold is dangerous, and visible bathroom mold does not automatically mean a major remediation project is required. Still, bathrooms combine frequent moisture, warm air, and enclosed spaces, making them a common location for recurring growth. The right response depends on the amount of material affected, what the mold is growing on, whether water damage is ongoing, and whether occupants are experiencing irritation or respiratory symptoms.
Bathroom Mold Removal Steps: Start With the Water Source
Before anyone sprays cleaner or scrubs a wall, identify why the area stayed wet long enough for mold to grow. This is the step most often skipped, and it is the reason many bathroom cleanups fail.
Look for obvious sources first: dripping supply lines under the sink, a leaking toilet seal, failed shower grout or caulk, a loose shower door sweep, roof leaks near an upper-floor bathroom, or plumbing leaks inside a wall. Then consider less obvious moisture patterns. A bathroom with no working exhaust fan, a fan that vents into an attic rather than outdoors, or a window that stays wet with condensation can create enough humidity for mold to develop even without a plumbing leak.
Run the fan during every shower and leave it on afterward long enough to clear steam. If the room still feels damp, the fan may be undersized, obstructed, improperly vented, or simply not moving enough air. Wiping down shower walls, hanging towels so they can dry, repairing failed caulk, and keeping the door open after bathing can reduce routine moisture. These are prevention measures, not substitutes for repairing an active leak.
Assess the Size and Materials Before Cleaning
A small, isolated patch on a hard, nonporous surface such as tile, glass, or a metal fixture can often be addressed with careful cleaning once the moisture source is corrected. Mold on porous or absorbent materials requires more caution. Drywall, ceiling tiles, particleboard cabinetry, carpet, insulation, and some grout or caulk can hold moisture and contamination below the surface. Surface wiping may make the staining disappear while leaving the underlying problem intact.
The location matters as much as the visible size. Mold around a shower edge may be limited to old caulk. Mold bubbling through painted drywall, appearing at a baseboard, or spreading from behind a vanity may indicate concealed water damage. A damp, soft wall or floor, persistent odor, repeated staining, or visible growth across a larger area are all reasons to pause before attempting cleanup.
Property managers and business owners should be especially careful with recurring bathroom mold in multi-unit buildings. A leak may originate in an adjoining unit, a shared plumbing line, or a ventilation issue affecting several rooms. Treating each bathroom separately without tracing the moisture pathway can increase repair costs and disrupt occupants repeatedly.
Prepare the Area to Protect Indoor Air Quality
Disturbing mold can release spores and debris into the room and nearby spaces. For a limited surface cleanup, protect yourself and keep the area controlled. Wear gloves, eye protection, and an appropriate respiratory mask. Keep children, pets, and people with respiratory sensitivities away from the work area until cleaning is complete and the room is dry.
Do not dry-scrape moldy material, use a household fan to blow across the affected surface, or aggressively sand damaged drywall. Those actions can spread particles into the bathroom and beyond it. Close the bathroom door during cleanup when possible, and avoid carrying contaminated rags through the home uncovered.
Never mix cleaning products. Combining bleach with ammonia, acids, or other cleaners can create dangerous fumes. Bleach is also not a universal mold solution. It may lighten staining on some hard surfaces, but it does not repair water damage or reliably solve mold growth in porous materials. The goal is not merely to make the surface look clean. The goal is to remove contamination appropriately, dry the area, and prevent recurrence.
Clean Hard Surfaces, Remove Damaged Porous Materials
For a small area of growth on a nonporous surface, use a suitable household cleaner and scrub the surface with disposable towels or a brush reserved for that task. Follow the product label directions, clean adjacent areas where moisture may have traveled, and dry the surface thoroughly. Bag and discard used towels or other disposable cleaning materials promptly.
If mold is embedded in shower caulk, removal and replacement of the caulk may be more effective than repeated surface treatments. The same principle applies to severely stained or deteriorated grout, although grout repairs should be evaluated carefully because moisture behind tile can point to a larger installation or plumbing problem.
Water-damaged porous materials are different. Soft drywall, swollen vanity panels, moldy ceiling material, or insulation affected by a leak may need controlled removal rather than cleaning. Removing these materials without containment can spread dust and mold particles, especially when the damage extends into a wall cavity. This is where professional assessment provides real value: it separates a manageable bathroom cleaning task from a condition that requires a documented remediation plan.
Dry the Bathroom Completely and Verify the Repair
Mold needs moisture to continue growing. After cleaning or material removal, dry all affected surfaces completely. Repair plumbing leaks, seal failed shower joints, replace damaged components, and make sure the exhaust system is functioning as intended. If a fan is present but the mirror, walls, and ceiling stay damp long after a shower, do not assume the problem is solved because the fan makes noise.
Watch the area over the next several weeks. Reappearing spots, a returning odor, new paint bubbling, or dampness at the same location suggests moisture remains. In that situation, additional cleaning is unlikely to be the answer. A focused inspection can identify whether the issue is hidden plumbing, condensation, shower-wall failure, poor ventilation, or moisture entering from another part of the building.
When Bathroom Mold Needs Professional Remediation
Professional help is the safer choice when mold covers a substantial area, keeps coming back, follows a flood or plumbing leak, affects drywall or cabinetry, or is accompanied by a persistent musty odor. It is also appropriate when there is concern about hidden damage behind tile, walls, or vanities, or when occupants have health concerns that make exposure control especially important.
A qualified mold professional should diagnose the source before recommending removal. Testing may be useful when the scope is unclear, when contamination is suspected but not visible, or when documentation is needed for a property decision. Testing alone does not solve a moisture problem, however. The work must connect the findings to source correction, containment when necessary, removal of affected materials, detailed cleaning, and final drying.
For homeowners and property decision-makers in New Jersey and surrounding service areas, Certified Mold Removal Inc. approaches bathroom contamination as a building and indoor-air-quality issue, not a fear-based sales opportunity. The priority is to determine what is wet, why it became wet, and what level of controlled cleanup the condition actually requires.
A clean-looking bathroom is only a successful result when it is also dry, properly ventilated, and unlikely to develop the same problem again. If mold is recurring or the damage seems to extend beyond the surface, acting early can protect the room, the people using it, and the value of the property.