A wet wall is not just a cosmetic problem. Water can travel behind paint, into insulation, along framing, and beneath flooring while the surface appears only slightly damp. Knowing how to dry wet walls quickly and correctly can limit property damage and reduce the chance of mold growth, but the right response depends on the water source, how long materials were wet, and what is inside the wall.
The first priority is always to stop the water. A leaking pipe, roof failure, overflowing fixture, or foundation intrusion must be corrected before drying begins. Running fans against a wall while water is still entering the structure wastes time and can spread moisture farther through the building.
How to Dry Wet Walls Safely After Water Damage
Start by making the area safe. If water is near outlets, switches, appliances, or electrical panels, turn off power to the affected area only if you can do so safely. Do not touch electrical components with wet hands or stand in water while operating equipment. If the water came from a toilet backup, sewage line, or another contaminated source, keep people and pets out of the area and avoid attempting a standard DIY cleanup.
Next, remove standing water and wet items from the room. Rugs, furniture, cardboard, fabric, and stored belongings can hold moisture against walls and slow the drying process. Move salvageable items to a dry, well-ventilated area. Wet carpet and padding near the wall deserve special attention because they can keep the bottom edge of drywall saturated long after the floor looks dry.
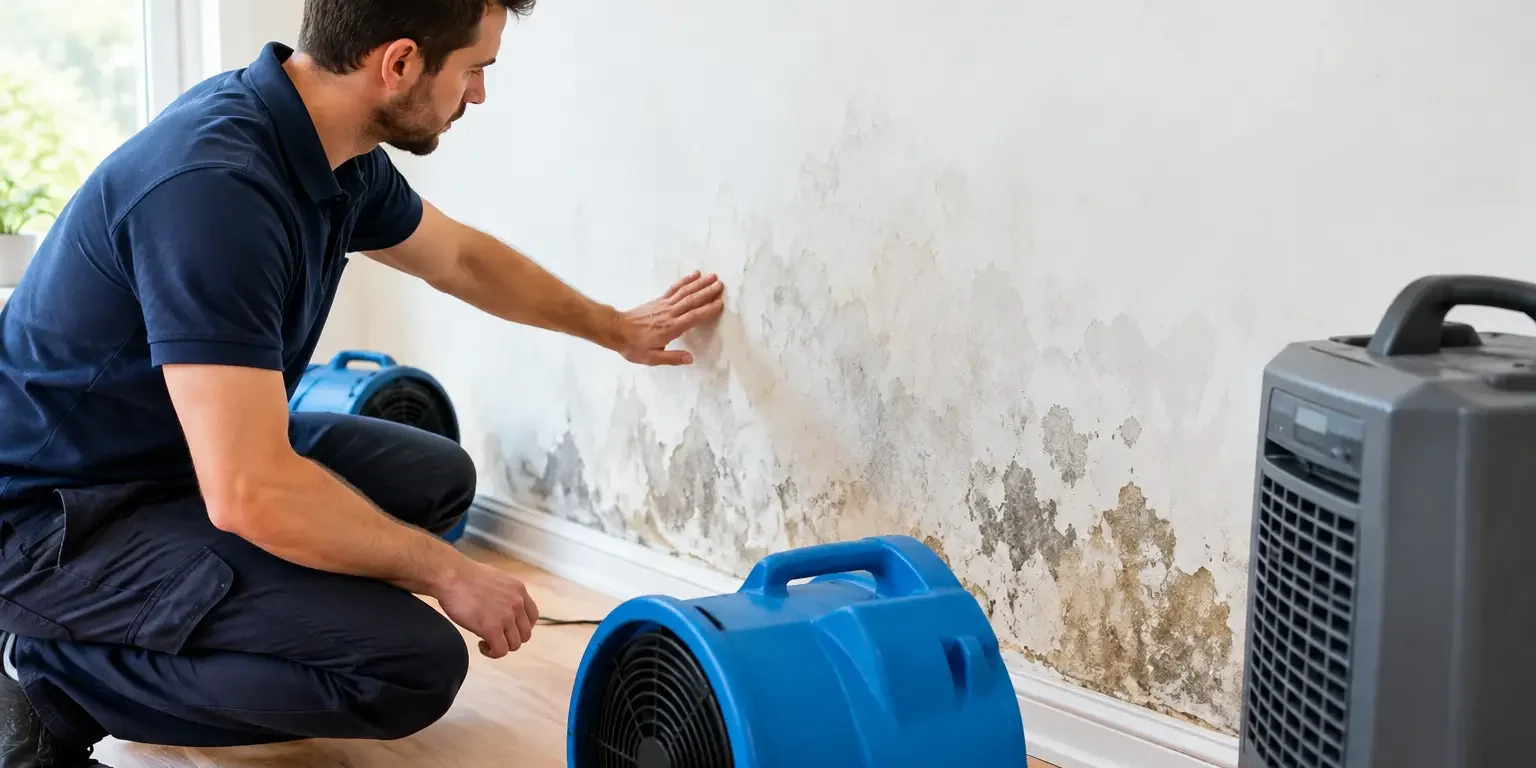
For a small, clean-water leak that was found quickly, drying may be possible without major demolition. Open windows only when outdoor air is drier than indoor air. Run the air conditioner when appropriate, use a dehumidifier sized for the space, and position air movers so air travels across the damp wall surface rather than directly into one small spot. The goal is to lower indoor humidity and encourage moisture to evaporate steadily.
Do not assume a dry-looking wall is dry inside. Drywall and insulation can retain moisture behind paint, baseboards, and trim. A moisture meter is the most dependable way to compare the affected wall with a known dry section of the same material. This is particularly valuable after a plumbing leak, because water often wicks upward several inches or more from the visible waterline.
Determine Whether the Wall Can Be Saved
Not every wet wall needs to be removed. A clean-water incident discovered immediately may allow drywall to dry successfully, especially if the wall is only lightly affected and there is no insulation trapping moisture behind it. Plaster walls can sometimes be more forgiving, although their drying time can be longer.
Drywall is less forgiving when it has swollen, softened, crumbled, or developed bubbling paint and separated seams. These are signs that the gypsum core may have been compromised. Baseboards that are warped or pulling away from the wall also suggest moisture behind the finished surface.
Insulated wall cavities are a separate concern. Fiberglass insulation can lose effectiveness when saturated and may prevent the wall assembly from drying. Cellulose insulation absorbs even more water and typically requires removal after a significant leak. In many cases, professionals make controlled openings near the base of the wall or remove selected drywall sections to inspect the cavity, remove wet materials, and dry framing properly.
Time matters. Under favorable conditions, mold can begin growing on damp building materials within 24 to 48 hours. That does not mean every wet wall is automatically a serious mold problem. It does mean the drying process should begin immediately, with verification rather than guesswork.
Use the Right Drying Equipment
Household fans and a portable dehumidifier can help with minor, clean-water moisture, but they have limits. They may dry the room air while leaving hidden moisture in a wall cavity. Professional water-damage drying typically uses calibrated moisture readings, commercial dehumidification, targeted air movement, and, when needed, wall-cavity drying equipment.
Avoid turning up the heat dramatically. Excess heat can cause paint to crack, wood trim to warp, and moisture to move deeper into cooler building materials. Controlled airflow and humidity reduction are more useful than simply making the room hot.
Keep interior doors open to improve air circulation unless you are dealing with suspected mold or contaminated water. In those situations, uncontrolled airflow can carry particles into unaffected rooms. The proper approach may involve containment and air filtration rather than opening the area to the rest of the property.
When You Should Not Dry the Wall Yourself
Some water events require a professional assessment from the start. Sewage-contaminated water, stormwater intrusion, a large flood, or a leak that has been active for days can affect more than the visible wall surface. Materials may need to be removed and the area cleaned under controlled conditions before drying can be considered complete.
Call a qualified water-damage or mold professional if you notice a musty odor, visible discoloration, peeling paint, warped baseboards, soft drywall, or moisture returning after the wall seemed dry. These signs can indicate hidden dampness or microbial growth behind the finished wall.
Professional help is also advisable if the affected area is larger than a small, isolated patch, if insulation is wet, or if occupants have respiratory sensitivities. Property managers and business owners should act especially quickly, since moisture in one unit, office, or common area can affect adjacent spaces and create avoidable disruption.
A credible inspection should identify the source of water, measure moisture in affected materials, determine the extent of damage, and explain whether drying, selective removal, or remediation is warranted. Be cautious with anyone who recommends major work without checking the wall system or explaining why each step is necessary. Proper diagnosis comes before cleanup.
Common Mistakes That Keep Walls Wet
One of the most common mistakes is painting over a water stain before the wall has dried. Paint can hide the evidence, but it does not remove moisture behind the surface. It may also trap dampness and delay discovery of a larger issue.
Another mistake is relying only on touch. A wall can feel dry while the lower drywall edge, insulation, wood framing, or backside of baseboard trim remains wet. Similarly, spraying fragrance or disinfectant into a wall cavity does not correct the moisture source or dry building materials.
Avoid cutting large holes in walls without a plan. An unnecessary opening can create more repair work, while an opening that is too small may not provide access to wet insulation or framing. When hidden moisture is likely, targeted inspection and moisture mapping are more reliable than guessing.
Finally, do not ignore recurring moisture. Condensation on exterior walls, repeated basement dampness, and water stains that reappear after rain point to an underlying building issue. Drying the wall is necessary, but lasting protection requires correcting the plumbing, roof, drainage, humidity, or building-envelope problem that caused it.
Know When the Drying Is Complete
A wall is not fully dry simply because the room no longer smells damp or the paint feels normal. Drying is complete when moisture readings in affected materials have returned to an acceptable range compared with unaffected materials of the same type. The area should also remain dry after drying equipment is removed.
If a leak, flood, or hidden moisture issue has affected your home or commercial property, act promptly but do not panic. Certified Mold Removal Inc. helps property owners make informed decisions through careful inspection, moisture assessment, source correction, and standards-based cleanup. A fast, measured response protects the building, the people inside it, and your ability to move forward with confidence.